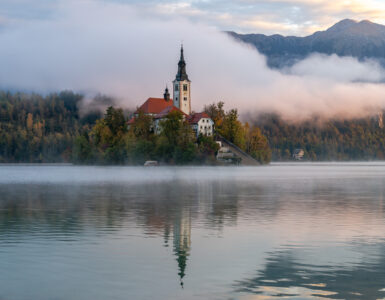
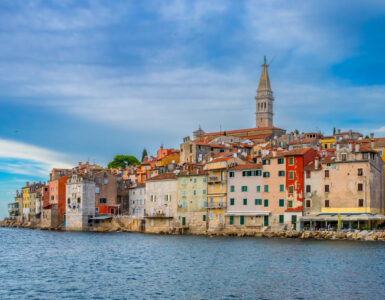
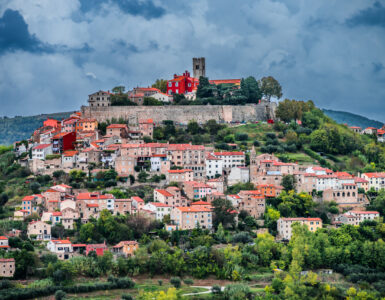
When traveling in areas where there are wide vistas or just a lot of something spread out in front of me, the panorama is my favorite shooting technique!
There are several ways to create a panorama. If you have a smart phone they now make it pretty easy. You pick Panorama, start shooting and follow the line on the phone. The camera creates the panorama for you. This is a great way to capture a scene for phone or web use but if you want to print your panorama at a good size for hanging on your wall you need to create a file with a few more megapixels!

You can create a panorama look by cropping a landscape image, thereby bringing the viewers attention to the wide view of the subject. This works when the sky does not have much going on and/or if the foreground is not too interesting.

The best way to create a panorama, though, is to take multiple images and stitch them together in Lightroom or Photoshop!
I have stitched 3 to 25 images together! I have seen images that were formed from multiple rows of images all stitched together. The only issue is the more images you are trying to combine the more power your computer will need to process all those megapixels!


Back when I first started shooting panos, the recommendation was to use a tripod and even a special head to allow the camera to take images in a proper arch but not any more. All of these panos were taken hand held. The shooting technique I use is to shoot the first image of my hand (to signify the beginning of the pano) then turn the camera in Portrait mode and start shooting with about a 20% overlap for each shot. I keep shooting while I rotate my body in an arch without taking a step. I shoot frames until I have the wide view that I want. Then the last image is of my hand again (to signify the end of the pano).
Since I am moving the camera across a possible variety of lighting conditions, I set the camera to Manual mode and set the ISO, F stop & shutter speed that are appropriate for the scene. If I have anything set on Auto the settings may change as I move through the scene, causing some changes in how the image is exposed.

Once I have my images loaded on your computer, I use Lightroom or Photoshop to stitch them together.

Part 2 will be about that post processing in Lightroom and Photoshop!
That is all for now!
Lynn


Add comment