
Ok, for the rest of the story, er process… I created a video that shows 3 panorama post-processing methods I use on my image(s) to end up with that wide angle view. For some reason, I love this type of image. I think it is because I see that way, I happen to have a very wide view of the world. I don’t miss much! It can be a bit distracting but hey! it has worked for me in my photography! These panoramas of the world are my favorite images to print, especially on metal!

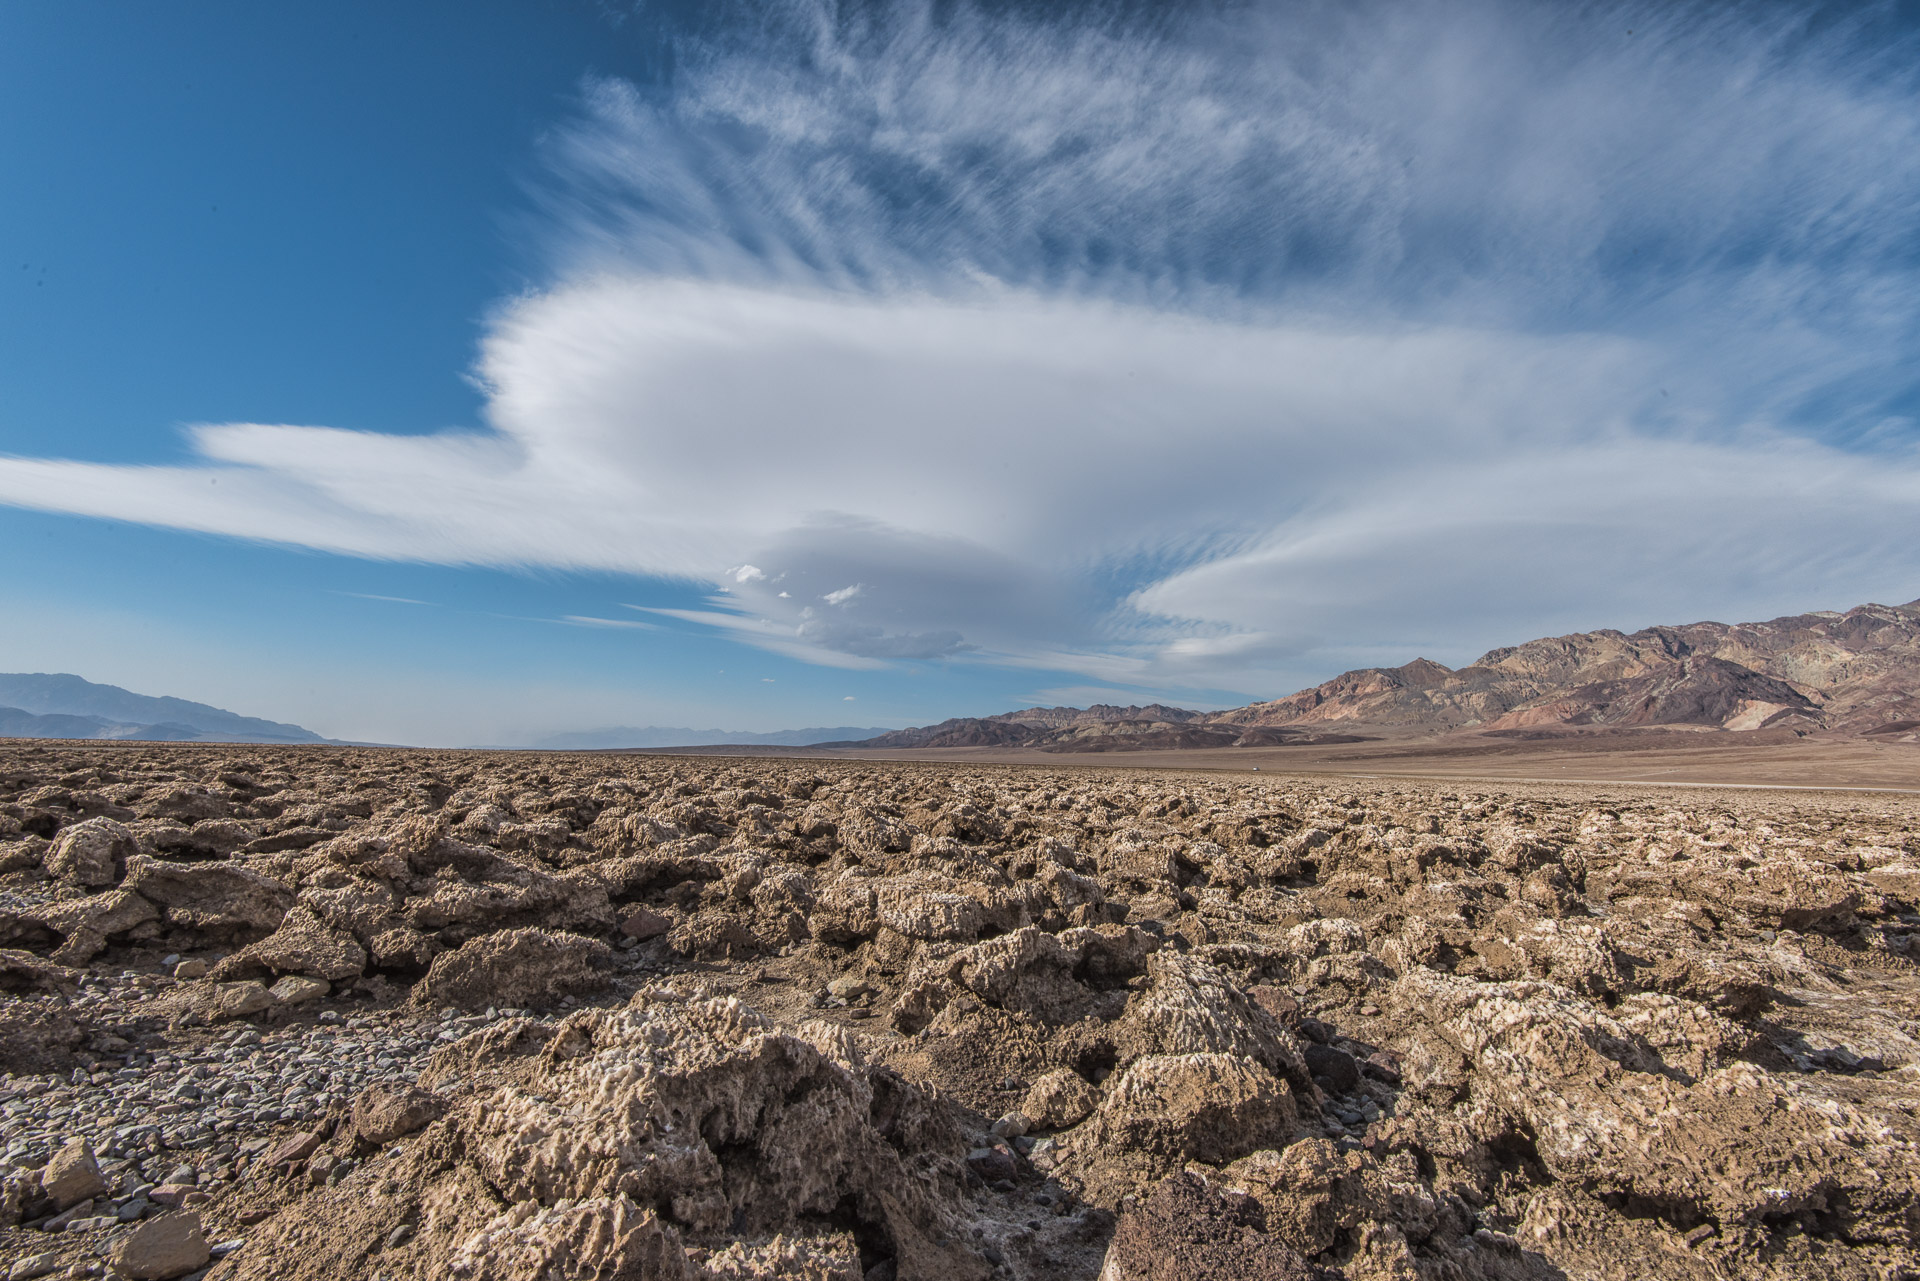
The above image was taken with a Nikon D810 and a Nikon 16-35mm lens. I hand-held the camera in Portrait position and shot 10 images that overlapped about 20%.

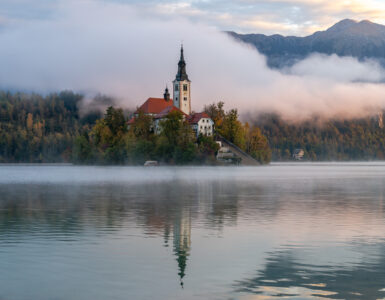
The above image was taken with the Nikon D810 and the Nikon 24-70mm lens. I hand-held the camera in Portrait position and shot 41 images that overlapped about 20%. Since the ocean images were so hard for the panorama programs to handle I cut this back to 12 images to create this view. It is better to have too many images than not enough, so I usually go beyond what I think I will want in the finished image.
Please take a look at the video tutorial below. There are many ways to do your panorama post-processing. I use Lightroom and Photoshop to show you the methods I refer.
I am sure you will enjoy adding panorama shooting (Part 1) and panorama post-processing to your travel photography repertoire.
Let me know if you have any questions in the comments section below.
That is all for now.
Lynn

Add comment